
1. Introduction to Roof Replacement Timeline
Replacing a roof is a significant home improvement project that requires careful planning and execution. Whether you're dealing with an aging roof or significant damage, understanding the timeline of a roof replacement will help you prepare for the process. In this guide, we'll break down the typical roof replacement timeline, detailing each step involved and what you can expect along the way.
- 2. Preparation Stage: Getting Ready for Roof Replacement
- 3. Removal of Old Roof
- 4. Installation of New Roof
- 5. Final Inspection and Touches
- 6. Potential Delays and How to Avoid Them
2. Preparation Stage: Getting Ready for Roof Replacement
The first step in any roof replacement project is preparation. This phase includes the planning and material acquisition necessary to get the job underway. Here's what you can expect:
Victors Home Solutions / victors roofing
2722 E Michigan Ave suite 239, Lansing, MI 48912, USA
2.1 Planning and Budgeting
Before you even hire a contractor, it's important to understand the costs and time involved in replacing your roof. You'll need to budget for materials, labor, permits, and any unexpected costs that might arise during the project.

Gunner Roofing / gunner roofing
CromwellLower Connecticut River Valley Planning RegionConnecticut
700 Corporate Row, Cromwell, CT 06416, USA
2.2 Hiring a Contractor
Finding a reputable roofing contractor is crucial. Make sure to get multiple estimates and check reviews before making a decision. A reliable contractor will give you a clear timeline and help you choose the best materials for your roof replacement.
2.3 Ordering Materials
Once you've selected a contractor, the next step is to order the materials. Roof replacement materials like shingles, underlayment, and flashings need to be ordered well in advance to avoid any delays once the project begins.
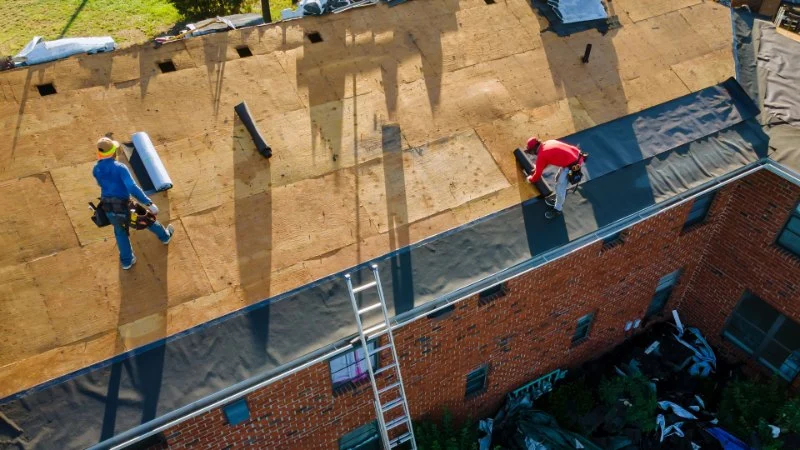
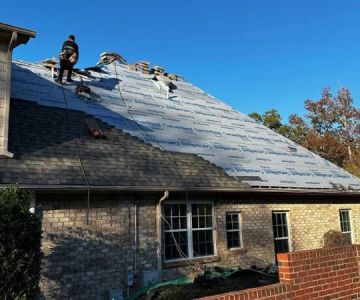
3. Removal of Old Roof
The removal of the old roof is the first major step in the physical process of roof replacement. This stage typically takes one to two days, depending on the size of your roof and the complexity of the job. Here's what happens during this stage:
3.1 Strip the Old Roof
The first task is to strip the old roofing material off your roof. This includes removing shingles, nails, and any underlying layers. This process can create a lot of debris, so it's essential to have a clean-up crew ready to keep the site organized.
3.2 Inspect the Roof Deck
Once the old roofing material is removed, the contractor will inspect the roof deck for any signs of damage, rot, or mold. If any issues are discovered, they will need to be addressed before proceeding with the new roof installation.
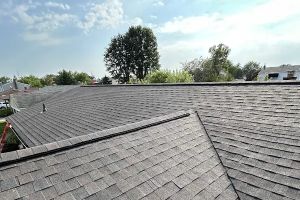
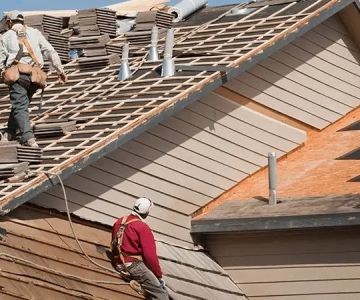
4. Installation of New Roof
After the old roof has been removed and the deck has been inspected and repaired, the installation of the new roof can begin. This stage generally takes 1 to 3 days, depending on the materials used and the size of your roof.
4.1 Underlayment Installation
The first step in installing the new roof is laying down an underlayment, which provides an additional layer of protection against the elements. This layer will help prevent leaks and improve energy efficiency.
4.2 Installing the Roofing Material
Next, the primary roofing material (such as shingles, tiles, or metal sheets) is installed. This process involves carefully layering and securing each section of roofing material to ensure long-term durability.
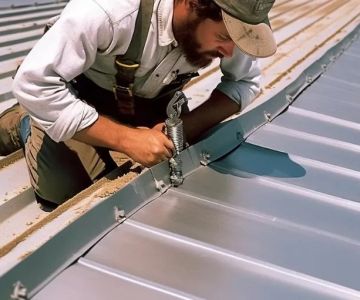
4.3 Flashing Installation
Flashing is installed around chimneys, vents, and other roof penetrations to prevent water from leaking into the home. This step is crucial for ensuring that your new roof remains watertight.
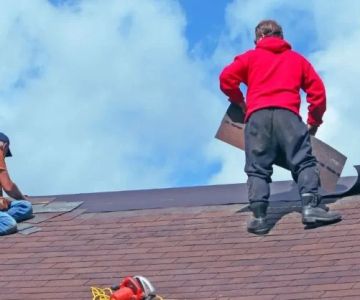
5. Final Inspection and Touches
Once the new roof is fully installed, it's time for the final inspection and any finishing touches. This phase usually takes one day to complete, and it ensures that the roof is installed properly and all elements are secure.
5.1 Inspecting the Roof
A roofing inspector will check the entire roof for any installation errors, leaks, or weak spots. If everything looks good, the job will be marked as complete.
5.2 Clean-Up and Disposal
The contractor will clean up the site, removing any leftover materials, nails, and debris. Disposal of the old roofing materials is an essential part of this process, and many contractors offer this as part of their service.
6. Potential Delays and How to Avoid Them
Roof replacement projects can be delayed for a variety of reasons, including weather conditions, material shortages, and unforeseen damage. Here are a few tips to help minimize delays:
6.1 Plan for Weather
Extreme weather conditions, such as rain or high winds, can delay the project. It's a good idea to schedule your roof replacement during a season with mild weather conditions.
6.2 Order Materials Early
Ensure that all materials are ordered well in advance to avoid last-minute shortages or delays. The earlier you get the materials, the smoother the process will be.
6.3 Choose a Reliable Contractor
Choosing a reliable, experienced contractor is essential for avoiding unnecessary delays. Ensure that your contractor has a good track record of completing jobs on time and within budget.

 Shield Exterior LLP5.0 (3 reviews)
 Noland's Roofing4.0 (802 reviews)
 Hysell Roofing0.0 (0 reviews)
 Mr. B's Roofing Ranger5.0 (2 reviews)
 Calderon Exteriors5.0 (24 reviews)
 Adam Vaillancourt Roofing & Gutters5.0 (36 reviews)
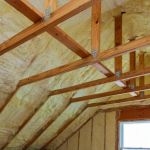 The Best Attic Insulation Types to Work with Your Roofing System for Efficiency
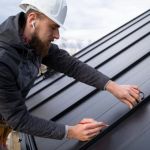 Understanding Roofing Warranties: Material vs. System Warranties Explained
 How Roofing Affects Home Resale Value: Boosting Curb Appeal and ROI
 The Difference Between Roof Repair and Roof Restoration: Which Do You Need?
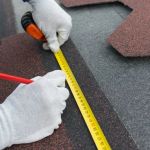 What is a Roofing Square? How to Calculate Waste Factor for a Roof Order
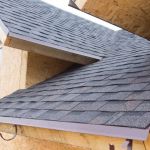 Pros and Cons of Re-Roofing vs. Full Roof Tear-Off for U.S. Homes