
How to Install Ice and Water Shield on Entire Roof Deck for Maximum Protection
- Why Use Ice and Water Shield?
- Materials Needed for Installation
- Step-by-Step Guide to Installing Ice and Water Shield
- Common Mistakes to Avoid
- Final Tips for a Successful Installation
Why Use Ice and Water Shield?
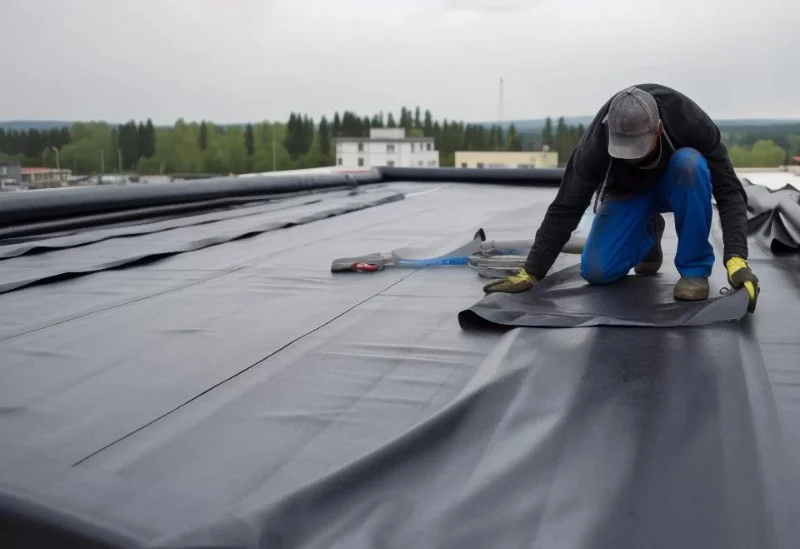
Ice and water shield is an essential waterproofing membrane used on roofs to prevent damage caused by water, ice dams, and leaks. It is especially useful in areas where heavy snow, ice, and freezing temperatures are common. This type of roofing protection acts as a barrier, ensuring that water doesn’t seep through vulnerable areas such as valleys, eaves, and around chimneys. Installing it on your entire roof deck provides maximum protection against potential roof leaks, which can lead to significant property damage.
By using an ice and water shield, homeowners can ensure the longevity of their roof, especially in regions prone to harsh winters. The shield adheres directly to the roof deck and forms a watertight layer that provides additional protection beyond traditional roofing materials.

SB Pro Roofing / sb pro roofing
Pinellas ParkPinellas CountyFlorida
6358 49th St N, Pinellas Park, FL 33781, USA
Materials Needed for Installation
Before beginning the installation process, it's important to gather all necessary materials to ensure a smooth and efficient job. Here’s a list of items you will need:
- Ice and Water Shield Membrane: This is the primary material you'll be applying to the roof deck.
- Roofing Nails: Used to secure the ice and water shield membrane to the roof deck.
- Utility Knife: For cutting the membrane to size.
- Hammer or Roofing Nailer: To drive the nails into place.
- Measuring Tape: For accurate measurements of the roof deck.
- Roofing Felt (Optional): Some people choose to apply roofing felt over the ice and water shield for added protection and a smooth surface for shingles.
- Roofing Shingles: To be installed after the ice and water shield is applied.
Step-by-Step Guide to Installing Ice and Water Shield
Installing ice and water shield on your entire roof deck can seem like a daunting task, but by following these simple steps, you can achieve effective waterproofing:
Lance Roofing & Siding Inc. / lance roofing and siding
6903 Dayton Springfield Rd, Enon, OH 45323, USA
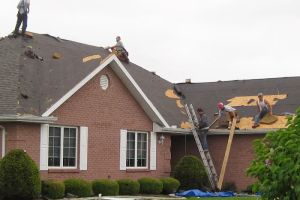
Step 1: Prepare the Roof Deck
Ensure that the roof deck is clean, dry, and free from debris. Any dirt, dust, or moisture will prevent the ice and water shield from adhering properly. If necessary, use a broom to sweep the surface, or a blower to remove any debris.
Step 2: Measure and Cut the Membrane
Using a tape measure, determine the length of the roof deck that needs to be covered. Cut the ice and water shield membrane into manageable sections using a utility knife. Make sure to leave a little extra material on each end to ensure full coverage.
Step 3: Apply the First Layer
Start at the bottom edge of the roof, working your way up. Peel the backing off the membrane and begin adhering it to the roof deck. Press firmly to ensure the membrane sticks. Overlap each row of membrane by at least 3-4 inches to prevent gaps and ensure proper waterproofing.
Step 4: Continue the Installation
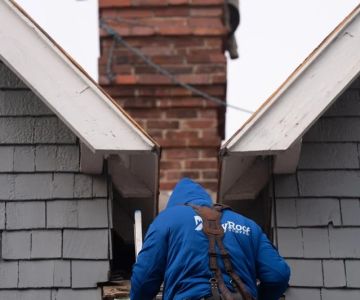
Continue applying the ice and water shield in rows, overlapping each section as you go. Ensure that all the vulnerable areas, such as valleys, eaves, and around chimneys, are thoroughly covered. Take your time to ensure that no areas are missed.
Step 5: Secure the Membrane
Once the membrane is applied, secure it in place with roofing nails along the edges. Use a hammer or roofing nailer to ensure the nails go deep enough to hold the membrane firmly in place, but be careful not to puncture the membrane.
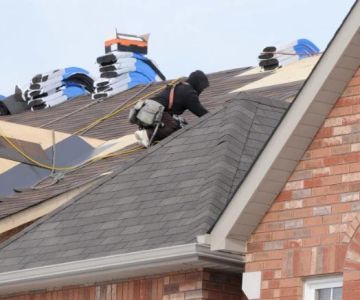
Step 6: Install the Roofing Shingles
After the ice and water shield is fully installed, you can begin installing your shingles. The shingles should be nailed over the membrane, starting from the bottom and working your way up the roof. This will create a secure, weather-tight seal.
Common Mistakes to Avoid
While installing ice and water shield is relatively straightforward, there are a few common mistakes that you should be aware of:
- Not Overlapping Properly: Be sure to overlap each row of membrane sufficiently. A 3-4 inch overlap is recommended to ensure full coverage and prevent leaks.
- Not Preparing the Roof Deck: Skipping the cleaning process can result in poor adhesion of the membrane, which could lead to water infiltration.
- Cutting the Membrane Too Short: Leave extra material on each end to ensure full coverage of the roof deck.
- Neglecting to Seal the Edges: Be sure to securely fasten the edges with roofing nails to prevent the membrane from shifting over time.
Final Tips for a Successful Installation
To ensure the best results when installing your ice and water shield, keep these final tips in mind:
- Work on a dry, calm day: Weather conditions play a crucial role in the installation process. It’s best to install the shield on a dry, calm day to avoid complications from wind or rain.
- Take your time: Rushing the installation can lead to mistakes and incomplete coverage. Be thorough and patient to ensure a secure, waterproof barrier.
- Consult with a professional: If you're unsure about any part of the installation, it’s always a good idea to consult with a roofing professional to ensure everything is done correctly.
For the best tools and materials to get started with your roofing project, visit Pro Found Roofing, where you'll find top-quality roofing products, including ice and water shield membranes, roofing nails, and more.

 Hammertime Construction Inc4.0 (51 reviews)
 Ideal Building Solutions4.0 (16 reviews)
 Advanced Roof Design Inc. Commercial Roofing3.0 (10 reviews)
 North Miami Beach Skyline Shelter Roofing Contractors5.0 (2 reviews)
 Ace Construction & Remodeling, Inc.4.0 (58 reviews)
 Texas Star Roofing & Construction4.0 (23 reviews)
 How Often Should You Replace Your Roof? Lifespan by Material
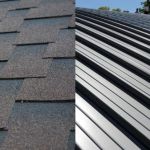 Asphalt Shingles vs. Metal Roofing: A Complete Comparison of Cost, Durability, and Style
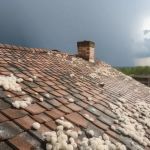 How to Inspect Your Roof for Damage After a Hailstorm
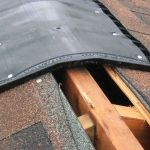 What is a Roof Ridge? How to Maintain and Repair Ridge Caps and Vents
 How Attic Ventilation Impacts the Health of Your Roof
 How Roofing Affects Home Resale Value – Key Considerations