
- 1. Understanding Roof Leaks After Installation
- 2. Common Causes of Roof Leaks After Installation
- 3. Mistakes to Avoid During Roof Installation
- 4. How to Fix a Roof Leak After Installation
- 5. Preventing Future Roof Leaks
- 6. Real-Life Case: Solving a Roof Leak Issue After Installation
- 7. Final Tips for Ensuring Proper Roof Installation
1. Understanding Roof Leaks After Installation
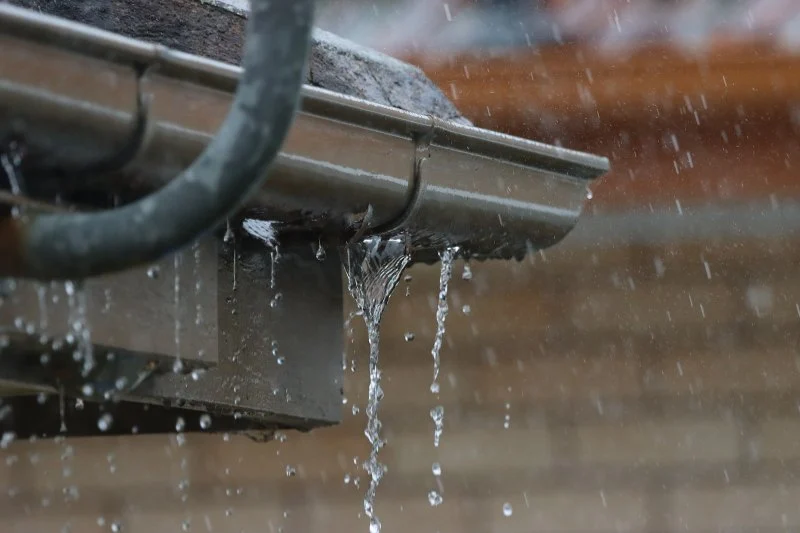
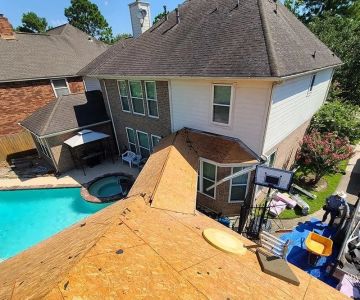
A roof leak after installation is a frustrating issue that can arise despite having a new roof put in place. Many homeowners expect their newly installed roof to be free of issues, but sometimes leaks can still occur. Understanding why these leaks happen can help homeowners address the issue quickly and prevent it from becoming a bigger problem. In this guide, we’ll explore the causes of roof leaks post-installation, how to identify them, and what steps can be taken to resolve the issue.
Absolute Roofing / absolute roofing
TimoniumBaltimore CountyMaryland
22 W Padonia Rd # B229, Timonium, MD 21093, USA
2. Common Causes of Roof Leaks After Installation
While a new roof should typically be leak-free, several factors can contribute to leaks after installation. Some of the most common causes include:
- Improper Flashing Installation: Flashing is essential to keep water from penetrating vulnerable areas, such as joints and chimneys. Improperly installed flashing can allow water to seep in, leading to leaks.
- Roofing Material Defects: Occasionally, roofing materials, such as shingles or tiles, may have defects that cause them to fail. If not detected during installation, these defects can lead to leaks after a short period.
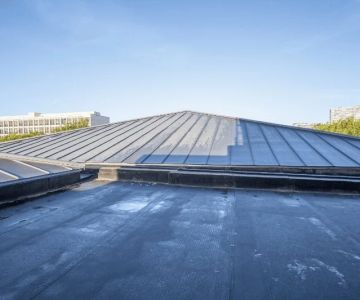
- Incorrect Slope: The slope of the roof is critical for proper water drainage. If the roof has a low slope or is improperly installed, water may pool, leading to leaks.
- Poor Ventilation: Insufficient attic ventilation can lead to excessive moisture buildup, which can weaken the roof structure and cause leaks.
- Improper Installation of Roof Decking: The decking beneath your roofing materials must be properly installed to support the roof. Any issues with the decking can lead to water infiltration and leaks.
Victors Home Solutions / victors roofing
2722 E Michigan Ave suite 239, Lansing, MI 48912, USA
3. Mistakes to Avoid During Roof Installation
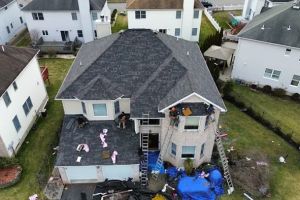
Many roof leaks after installation are the result of mistakes made during the installation process. Here are some common errors that can lead to future issues:
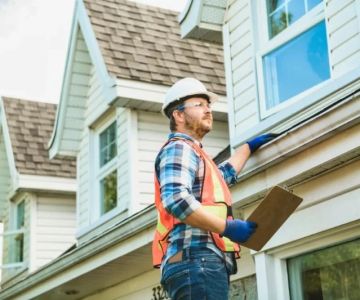
- Skipping Proper Roof Inspection: Before installing a new roof, a thorough inspection of the existing structure should be done. Failure to address underlying issues such as damaged decking or poor ventilation can lead to leaks.
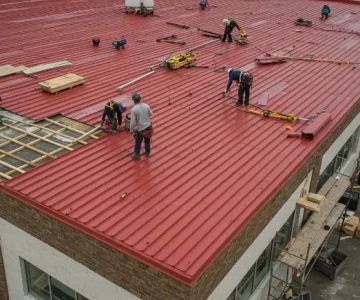
- Using Subpar Materials: Cheap, low-quality roofing materials may not provide the long-term protection your home needs. Always invest in high-quality materials to ensure the durability of your roof.
- Neglecting to Seal Vulnerable Areas: Areas like chimneys, skylights, and vents need to be carefully sealed to prevent water from entering. A mistake in sealing these areas can result in leaks.
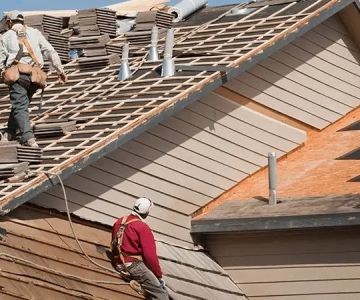
- Incorrectly Installing Shingles: Shingles should be installed in overlapping layers to prevent water from seeping underneath. Improper installation can cause shingles to lift and expose the roof to water damage.
4. How to Fix a Roof Leak After Installation
If you notice a leak after installing your new roof, it’s essential to act quickly to prevent further damage. Here’s what you can do to fix the issue:
- Inspect the Roof: Start by checking for any visible damage or gaps in the roofing material, especially around flashing and vents. If you're not comfortable doing this yourself, hire a professional roofer to inspect the roof.
- Address the Source of the Leak: If you find the source of the leak, such as damaged shingles or flashing, it’s essential to fix it promptly. Replacing damaged shingles or re-sealing flashing can often resolve the issue.
- Waterproofing: Once the leak is repaired, consider applying a waterproofing sealant to vulnerable areas of your roof to prevent future leaks.
- Check for Attic Damage: Leaks can also cause damage to the attic. Check for signs of water damage in the insulation or on the ceiling below the roof. Repairing this damage may involve replacing insulation or sealing any moisture points in the attic.
5. Preventing Future Roof Leaks
Preventing future roof leaks after installation involves regular maintenance and vigilance. Here are some preventive measures:
- Regular Roof Inspections: Schedule annual roof inspections to ensure that your roof remains in good condition. A professional inspection can catch potential problems before they lead to leaks.
- Keep Gutters Clean: Clogged gutters can cause water to pool on the roof, leading to leaks. Regularly clean your gutters to maintain proper water flow.
- Maintain Proper Ventilation: Ensure that your attic has adequate ventilation to prevent moisture buildup, which can cause roof damage and leaks.
- Proper Maintenance of Flashing and Seals: Regularly check the flashing around chimneys, vents, and skylights to ensure they are properly sealed and intact.
6. Real-Life Case: Solving a Roof Leak Issue After Installation
Recently, a homeowner in Raleigh, NC, experienced a roof leak just six months after having a new roof installed. Upon investigation, it was discovered that the flashing around the chimney had not been properly sealed. The leak was traced to this weak point, and the contractor quickly corrected the issue by resealing the flashing. Fortunately, the damage was minimal, but it served as a reminder of how important it is to address every detail during the roof installation process to avoid future problems.
7. Final Tips for Ensuring Proper Roof Installation
To ensure that your roof is installed correctly and remains leak-free:
- Choose a Reliable Roofing Contractor: Make sure your contractor is licensed, insured, and has a good reputation in the industry.
- Use Quality Materials: Invest in durable, high-quality roofing materials that are built to withstand the elements.
- Follow Best Practices: Ensure that the contractor follows proper installation techniques, including correctly installing flashing, sealing vulnerable areas, and using the right materials for your roof’s needs.
 Accupro Environmental2.0 (8 reviews)
 LGC Roofing0.0 (0 reviews)
 Second To None Roofing4.0 (58 reviews)
 BRUNO Roofing & Construction4.0 (6 reviews)
 Castle Exteriors Inc5.0 (18 reviews)
 A.U.E. Roofing & Construction4.0 (19 reviews)
 Should You Repair or Replace Your Roof? A Complete Decision Guide
 The Difference Between Roof Repair and Roof Restoration: Which Do You Need?
 How to Spot Early Signs of Roof Damage Before It’s Too Late | Pro Found Roofing
 How to Safely Remove Moss and Algae from Your Roof | Cleaning and Prevention Tips
 The Best Roofing Materials for Mountain Homes with Heavy Snow Loads
 How to Finance a New Roof Without Breaking the Bank