
- 1. Introduction to Modified Bitumen Roofs
- 2. Why Choose Modified Bitumen for Low-Slope Garages
- 3. Preparing for Installation
- 4. Steps in Installing a Modified Bitumen Roof
- 5. Common Issues and Troubleshooting
- 6. Maintenance and Durability
- 7. Conclusion and Next Steps
1. Introduction to Modified Bitumen Roofs
Modified bitumen roofing is a popular choice for low-slope roofs, particularly in residential and commercial settings. Made by modifying asphalt with additives like polymers, this roofing material is designed to provide enhanced flexibility, durability, and resistance to the elements. Modified bitumen roofs are often installed in layers, with a self-adhesive or torch-down method, ensuring a strong, waterproof barrier that protects against leaks and weather damage.

Holden Roofing (Houston Corporate) / holden roofing
RosenbergFort Bend CountyTexas
2128 1st St, Rosenberg, TX 77471, USA
2. Why Choose Modified Bitumen for Low-Slope Garages
Low-slope roofs are common in garages due to their simple design and efficient use of space. However, these roofs are more prone to water pooling and leaks, especially during heavy rains or snowmelt. Modified bitumen offers several benefits that make it an ideal choice for low-slope garage roofs.
Lance Roofing & Siding Inc. / lance roofing and siding
6903 Dayton Springfield Rd, Enon, OH 45323, USA
1. Superior Waterproofing
Modified bitumen is highly resistant to water, ensuring that your garage remains dry and protected. It is particularly effective at sealing the roof, preventing leaks, and reducing the chances of water infiltration during storms or heavy rains.
2. Durability and Longevity
This roofing material is known for its exceptional durability, able to withstand harsh weather conditions such as UV radiation, rain, and snow. Modified bitumen roofs can last up to 20-30 years when properly installed and maintained, making them a long-term solution for low-slope garages.
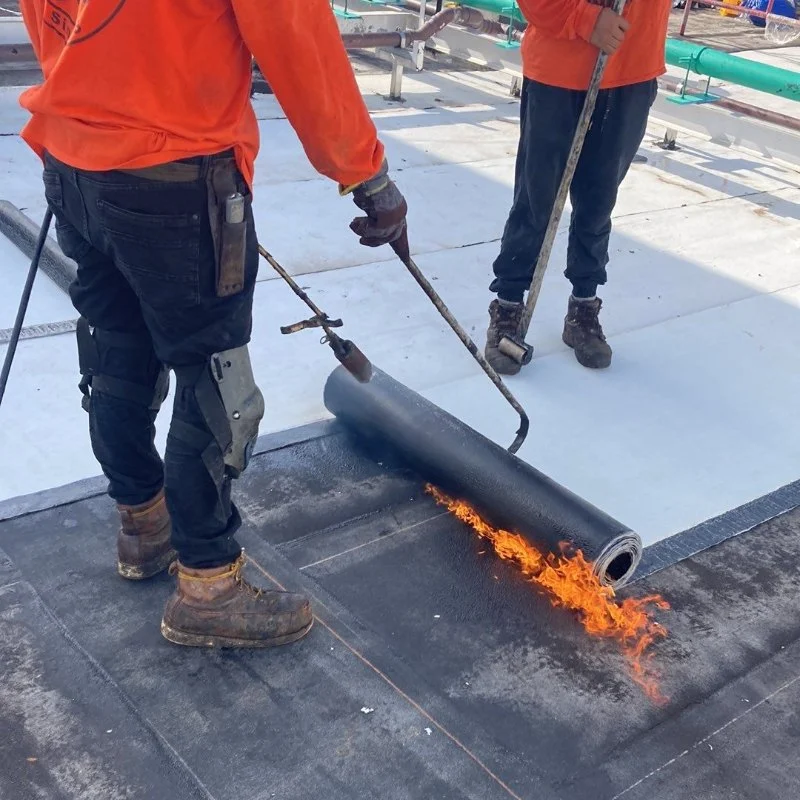
3. Easy Installation
Modified bitumen roofing can be installed using a variety of techniques, including the torch-down method, self-adhesive strips, or hot asphalt. This versatility makes it suitable for DIY projects or professional installations, ensuring the process is straightforward and efficient.
3. Preparing for Installation
Before installing a modified bitumen roof, proper preparation is essential to ensure a successful installation and long-lasting results.
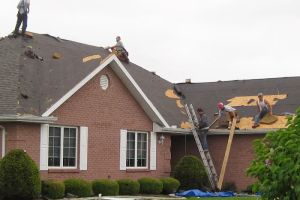
1. Assessing the Roof
Start by inspecting the roof structure for any signs of damage or weaknesses. Ensure that the decking is solid, clean, and free of debris. Any damaged sections should be repaired before proceeding with installation. For existing roofs, you may need to remove old roofing materials such as shingles or tarpaper to ensure proper adhesion of the new bitumen layers.
2. Gathering Materials
You’ll need the modified bitumen roofing material, a torch or adhesive (depending on the installation method), roofing nails or staples, and a primer for adhesion. Ensure that you have all the necessary tools and safety equipment, including gloves and safety glasses, before starting the installation process.
3. Weather Considerations
Modified bitumen roofing should be installed during dry weather conditions. Avoid installation during heavy rain, snow, or extreme temperatures, as these can affect the performance of the adhesive and compromise the integrity of the roof.
4. Steps in Installing a Modified Bitumen Roof
Once you’ve prepared the roof, follow these steps to install the modified bitumen roof correctly:
1. Apply a Primer
Start by applying a primer to the roof surface. This helps to improve adhesion between the modified bitumen and the roof decking, ensuring a strong bond.
2. Lay the First Layer
Unroll the first layer of modified bitumen, ensuring it is aligned properly with the edges of the roof. If using a torch-down method, heat the bitumen material and press it firmly onto the roof. For self-adhesive versions, peel off the backing and press the material in place.
3. Add Additional Layers
Depending on the manufacturer’s instructions, you may need to add one or more additional layers of modified bitumen. Ensure that each layer overlaps the previous one by several inches to prevent water from seeping through the seams.
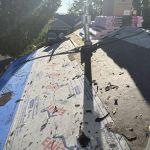
4. Seal the Edges
Once all layers are in place, seal the edges of the roof with roofing cement or a similar product to prevent wind from lifting the edges. This step is particularly important for low-slope roofs, which are more vulnerable to wind uplift.
5. Common Issues and Troubleshooting
Even with proper installation, some common issues can arise with modified bitumen roofs. Here are a few potential problems and how to address them:
1. Blistering
Blistering occurs when air or moisture becomes trapped between layers of roofing material. This can often be prevented by ensuring proper adhesion during installation and allowing adequate curing time for each layer.
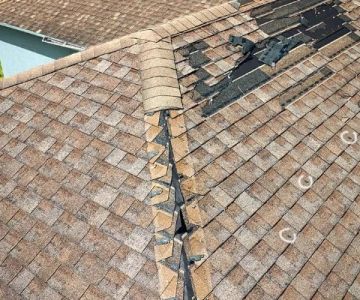
2. Poor Adhesion
If the roofing material does not adhere properly, it can lead to leaks. Ensure that the roof surface is clean and dry before applying the bitumen, and use the correct adhesive or torching technique to ensure a secure bond.
3. Ponding Water
Low-slope roofs are prone to ponding water, where water accumulates in certain areas instead of draining away. This can be mitigated by ensuring the roof has proper drainage and slopes slightly to allow water to flow off the roof surface.
6. Maintenance and Durability
To extend the life of your modified bitumen roof and maintain its performance, regular maintenance is essential.
1. Regular Inspections
Inspect the roof at least twice a year, particularly after heavy storms. Look for any signs of wear, damage, or leaks and address them promptly to prevent further issues.
2. Clean the Roof
Remove debris such as leaves and branches from the roof surface to prevent damage. Clean the gutters regularly to ensure proper drainage and avoid water buildup on the roof.
3. Touch-Up Seals and Edges
Inspect the edges and seams of the roof regularly. Reapply roofing cement or sealant to any areas where the material has started to loosen or peel away.
7. Conclusion and Next Steps
Installing a modified bitumen roof for a low-slope garage is a great way to improve durability, weather resistance, and overall roof performance. With the right preparation, installation steps, and maintenance, your modified bitumen roof can last for decades, providing reliable protection for your garage.
If you’re looking for the right products or expert help with your roofing project, visit Pro Found Roofing for recommendations and professional services to ensure the best results for your low-slope garage roof.


 Above All Remodeling LLC1.0 (3 reviews)
 AMERICAN WEATHERPROOF RESTORATION5.0 (9 reviews)
 New Look Roofers5.0 (23 reviews)
 Brown Roofing, LLC4.0 (21 reviews)
 Adriatic Home Improvement5.0 (24 reviews)
 Oak City Roofing5.0 (42 reviews)
 The Best Roofing Materials for Mountain Homes with Heavy Snow Loads
 How to Repair a Leaking Roof on a Porch or Sunroom with a Low Slope | Pro Found Roofing
 Ceiling Stains: How to Tell if It’s a Roof Leak or a Plumbing Problem
 What is a Roofing Boot? How to Repair and Replace Pipe Vent Flashings
 Green Roofing Solutions for Sustainable Homes in the U.S.: Eco-Friendly Options
 The True Cost of a Green Roof: Installation, Irrigation, and Maintenance