
- Understanding Drip Edge and Its Purpose in Roofing
- Challenges of Installing Drip Edge Without a Fascia Board
- Tools and Materials Needed for Installation
- Step-by-Step Installation Process for Roofs Without Fascia
- Common Mistakes to Avoid During Installation
- Real-World Example from Pro Found Roofing
- Why Professional Installation Matters
1. Understanding Drip Edge and Its Purpose in Roofing
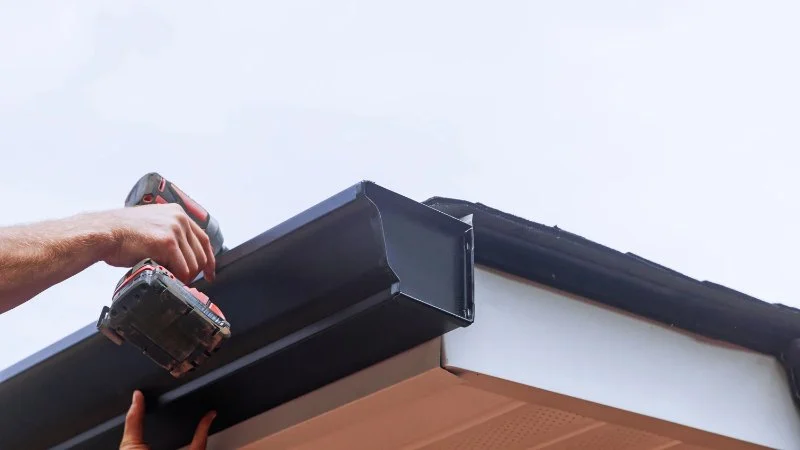
A drip edge is one of the most important yet often overlooked components of a roofing system. It’s a metal flashing installed along the edges of a roof to direct water away from the fascia and into the gutters. Without a properly installed drip edge, rainwater can seep beneath shingles, causing rot, mold, or structural damage to the decking.
In most homes, the drip edge is attached over a fascia board, which provides a secure mounting surface. But what happens when there’s no fascia board at all? That’s where careful planning and expert technique come into play. According to specialists at Pro Found Roofing, understanding how to adapt drip edge installation to your roof structure ensures long-term protection and prevents water-related issues down the line.
Victors Home Solutions / victors roofing
2722 E Michigan Ave suite 239, Lansing, MI 48912, USA
2. Challenges of Installing Drip Edge Without a Fascia Board
Installing a drip edge without a fascia board presents a unique challenge because there’s no traditional vertical surface to fasten the flashing to. Instead, the edge of the roof sheathing or rafter tails must support the metal trim. This can make the installation more delicate, as improper angling or fastening can leave gaps where water may infiltrate.
Additionally, roofs without fascia often lack gutters, which increases the importance of correctly positioning the drip edge to direct runoff safely away from the structure. In many older homes and cabins, this type of roof design was common — especially where aesthetics or airflow were prioritized over gutter systems. Modern homeowners, however, must balance functionality and preservation when adding new drip edges to these traditional setups.

Holden Roofing (Houston Corporate) / holden roofing
RosenbergFort Bend CountyTexas
2128 1st St, Rosenberg, TX 77471, USA
3. Tools and Materials Needed for Installation
Before beginning the installation process, gather all necessary materials and tools. Using high-quality products ensures both performance and durability. Recommended items include:
• Galvanized or aluminum drip edge flashing (preferably with a hemmed edge for added strength)
• Roofing nails or corrosion-resistant screws
• Tin snips or metal shears
• Roofing sealant or caulk
• Measuring tape and chalk line
• Safety equipment (gloves, ladder stabilizer, and eye protection)
Pro Found Roofing also advises choosing flashing that matches your roof’s slope and shingle type. For example, a steeper pitch may require a wider drip edge flange to ensure adequate water flow.
4. Step-by-Step Installation Process for Roofs Without Fascia
Installing a drip edge on a roof without a fascia requires precision and attention to detail. Here’s how professionals typically approach the process:
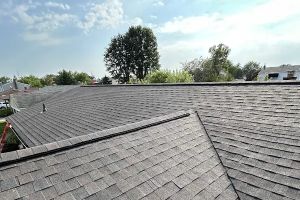
Step 1: Assess the Roof Edge
Inspect the roof decking and rafter tails for rot, unevenness, or damage. Repair or replace any compromised sections to create a solid foundation for installation.
Step 2: Measure and Cut the Drip Edge
Use a chalk line to mark a straight line along the roof’s perimeter. Cut the drip edge to match each section, ensuring you have clean overlaps (about 1 inch) between pieces for water-tight coverage.
Step 3: Position the Drip Edge
Since there’s no fascia, align the vertical flange of the drip edge flush with the rafter tails, allowing the horizontal flange to rest over the roof decking. The goal is to create a seamless transition that channels water away from the edge.
Step 4: Secure the Drip Edge
Fasten the drip edge using roofing nails or screws placed every 8 to 10 inches. Ensure the fasteners go into solid wood, not gaps or shingle edges. Avoid overdriving nails, as this can warp the metal.
Step 5: Seal and Overlap
Apply roofing sealant beneath each overlap to prevent water infiltration. If you’re installing new shingles, place the underlayment over the drip edge along the rake edges but under it along the eaves, as per standard roofing practice.
Step 6: Inspect and Adjust
Once installed, visually inspect the drip edge to confirm a consistent angle and no visible gaps. Water should naturally flow over the edge without pooling or backing up.
5. Common Mistakes to Avoid During Installation
Even experienced DIYers can make errors when installing a drip edge without fascia. Common mistakes include failing to overlap the pieces properly, leaving gaps between the drip edge and roof decking, or using incompatible fasteners that rust over time. Another frequent issue is positioning the metal too close to the roof edge, causing runoff to bypass the intended drainage path.
According to Pro Found Roofing experts, one of the most critical errors is skipping the sealant or underlayment step, which can lead to leaks during heavy rainfall. Always ensure all materials integrate smoothly with the existing roofing structure to maintain both appearance and function.
6. Real-World Example from Pro Found Roofing
In a recent project in rural Tennessee, a client contacted Pro Found Roofing to install a new drip edge on a cabin roof with exposed rafters and no fascia board. The team assessed the structure and recommended custom-bent aluminum drip edges to match the roof’s slope. The result was a durable, watertight edge that blended seamlessly with the rustic design while preventing future moisture damage.
The client reported improved water runoff and noticed reduced wood deterioration around the eaves within just a few months. This project highlights how professional expertise and tailored solutions can make a significant difference in roof longevity — especially in nonstandard roof designs.
7. Why Professional Installation Matters
While drip edge installation might seem straightforward, working without a fascia adds layers of complexity that can impact roof integrity if done incorrectly. Factors like roof pitch, material compatibility, and water flow patterns all influence how effective the installation will be. That’s why it’s often best to consult experienced roofers rather than taking a trial-and-error approach.
Pro Found Roofing specializes in advanced roofing techniques and understands how to adapt to unique architectural structures. Whether you’re maintaining a cabin, barn, or modern home, their team ensures precision installation using top-quality materials. Investing in professional service not only prevents leaks but also enhances the aesthetic and lifespan of your roofing system.


 Drip 2 Dry Roofing LLC5.0 (1 reviews)
 Elite Roofing Pros LLC5.0 (40 reviews)
 EBS Acoustical Ceilings0.0 (0 reviews)
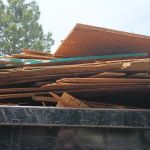 Just Roofs and Gutters4.0 (46 reviews)
 Pasadena Roofing Co5.0 (7 reviews)
 OML Flat Roofing Company5.0 (36 reviews)
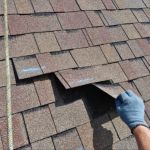 What is a Roofing Warranty? How to File a Claim if Your Shingles Fail Early
 The Best Roofing Materials for a Desert Modern Home with Clean Lines
 The Signs of a Roof Leak in Your Attic: Stains, Mold, and Wet Insulation
 How to Negotiate with a Roofing Contractor Without Sacrificing Quality
 htmlCopy codeThe True Cost of a Built-Up Roof (BUR) with Gravel for a Commercial Building
 Understanding Roofing Ventilation Systems and Why They Matter