
How to Install a Roof Vent for Your Kitchen Exhaust Fan to the Outside
- 1-Why a Roof Vent Is Necessary for Your Kitchen Exhaust Fan
- 2-Tools and Materials Needed for the Installation
- 3-Step-by-Step Guide to Installing the Roof Vent
- 4-Safety Tips for Roof Vent Installation
- 5-Common Mistakes to Avoid During Installation
- 6-When to Call Professionals
- 7-Get Professional Help from Pro Found Roofing
1. Why a Roof Vent Is Necessary for Your Kitchen Exhaust Fan
Installing a roof vent for your kitchen exhaust fan is essential for several reasons. A proper vent helps to expel cooking odors, moisture, and heat out of your home, keeping the indoor air fresh and comfortable. Without a vent, these pollutants can build up, leading to potential damage to your home, including mold and mildew growth.
A roof vent directs the exhaust air safely outside, improving the efficiency of your kitchen fan and contributing to overall home comfort. Let’s dive into the details of how to install one and ensure your kitchen ventilation system works properly.
2. Tools and Materials Needed for the Installation
Before starting the installation, gather all the necessary tools and materials:
- Roof vent cap
- Roofing sealant
- Drill with bit set
- Jigsaw or reciprocating saw
- Measuring tape
- Safety goggles and gloves
- Caulk gun
- Shingle removal tools
Having these tools and materials ready will help streamline the installation process and ensure a secure and professional result.
3. Step-by-Step Guide to Installing the Roof Vent
Follow these steps to install a roof vent for your kitchen exhaust fan:

Rapid Response Roofing / rapid response roofing
East GreenvilleMontgomery CountyPennsylvania
408 State St, East Greenville, PA 18041, USA
3.1 Measure and Mark the Installation Spot
Start by measuring the distance between the kitchen exhaust fan and the location where you want to install the vent. Mark the spot on your roof where the vent will be placed, making sure it's far enough from any obstructions.
Absolute Roofing / absolute roofing
TimoniumBaltimore CountyMaryland
22 W Padonia Rd # B229, Timonium, MD 21093, USA
3.2 Cut the Hole for the Vent
Using a jigsaw or reciprocating saw, carefully cut a hole in the roof where you’ve marked. Be sure to follow the measurements exactly to ensure the vent fits properly.
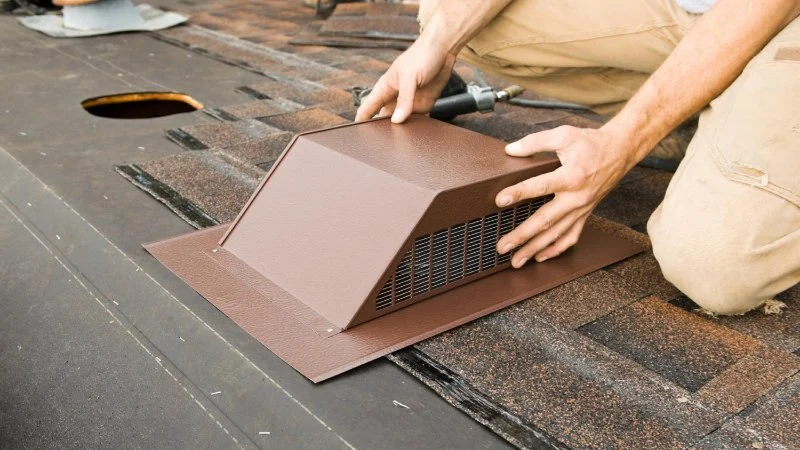
3.3 Install the Vent Cap
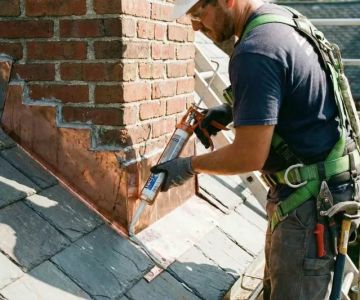
Place the vent cap over the hole and secure it with screws. Apply roofing sealant around the edges to prevent leaks. Ensure the vent cap is securely fastened to the roof to avoid any wind or water damage.
3.4 Connect the Exhaust Duct
Connect the exhaust duct from your kitchen fan to the vent on the roof. Use duct tape or clamps to secure the duct in place, making sure it’s properly sealed to prevent air leaks.
3.5 Seal and Finish
Apply a final layer of roofing sealant around the edges of the vent to ensure a waterproof seal. Replace any shingles that were removed during the installation process, making sure everything is securely in place.
4. Safety Tips for Roof Vent Installation
When installing a roof vent, safety is paramount. Here are some important safety tips:
- Wear safety goggles and gloves to protect against debris and sharp edges.
- Use a sturdy ladder and make sure it is positioned correctly before climbing.
- If you're working on a steep roof, consider using a roof harness for added stability.
- Ensure you’re working on a dry, non-slippery surface to avoid accidents.
By following these safety guidelines, you can minimize the risk of injury during the installation process.
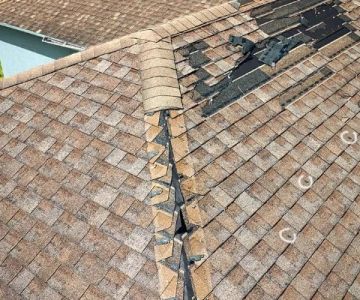
5. Common Mistakes to Avoid During Installation
Here are some common mistakes to watch out for when installing a roof vent:
- Improper measurements that lead to a poorly fitting vent.
- Not sealing the vent cap properly, leading to leaks.
- Forgetting to use a vent cap that’s compatible with your roofing material.
- Failing to check for obstructions in the attic that could block airflow.
Avoiding these mistakes ensures your vent functions properly and lasts longer.
6. When to Call Professionals
While installing a roof vent can be a DIY project for many, it’s essential to know when to call in the experts. If you’re uncomfortable with heights, unsure of how to handle roofing materials, or if your roof has complex features, it may be best to hire a professional roofing contractor.
Professional roofers can ensure proper installation and avoid the risk of damaging your roof or failing to meet local building codes.
7. Get Professional Help from Pro Found Roofing
If you're looking for reliable and expert help with roof vent installation or any other roofing needs, consider reaching out to Pro Found Roofing. Their team of professionals can help with everything from vent installations to complete roof repairs. Visit their website to learn more and get started today!


 Four Brothers Roofing, Siding & Gutter Contractor Inc.5.0 (11 reviews)
 Ebenezer Roofing LLC - Roof Replacement Experts in DMV4.0 (105 reviews)
 Grady Cross Roofing, LLC3.0 (7 reviews)
 Wow! What A Roof!5.0 (22 reviews)
 Blue Truss5.0 (167 reviews)
 Modern Roofing5.0 (69 reviews)
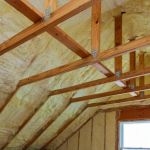 The Best Attic Insulation Types to Work with Your Roofing System for Efficiency
 What is a Roofing Boot? How to Repair and Replace Pipe Vent Flashings
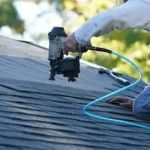 How to Decide Whether to Repair or Replace Your Roof – Complete Guide
 How to Inspect Your Roof for Damage After a Hailstorm – A Step-by-Step Guide
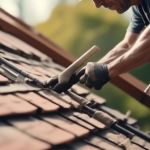 DIY Roof Repair Tips: How to Safely Fix Your Roof
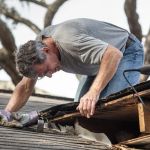 DIY Roof Repair Tips: What U.S. Homeowners Can Safely Handle Themselves