
- 1. Understanding Roof Pitches and Common Leak Causes
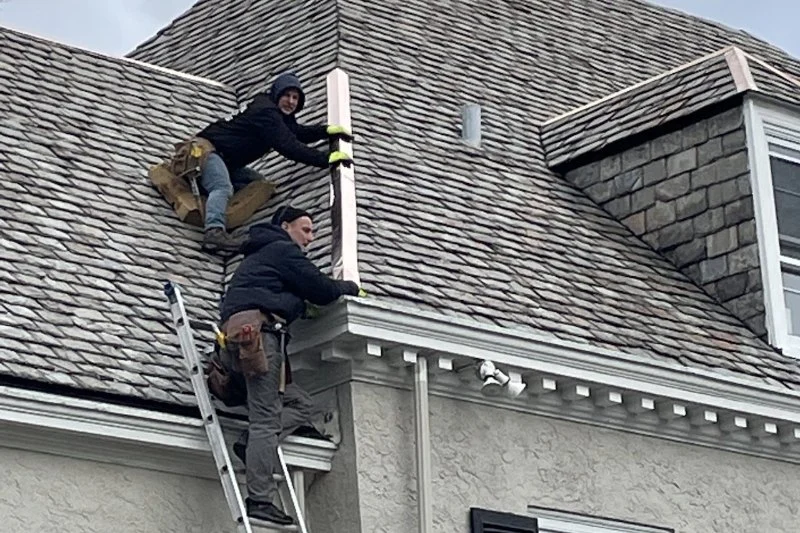
- 2. Preparing for the Roof Leak Repair
- 3. Step-by-Step Process to Fix the Leak
- 4. Tips for Preventing Future Leaks
1. Understanding Roof Pitches and Common Leak Causes
When dealing with roofing issues, it’s important to understand the concept of roof pitches. A roof pitch refers to the angle or slope of the roof, and roofs can have different pitches depending on their design. A roof with two different pitches meeting at a junction is a common area for leaks, especially if the junction isn’t properly sealed or maintained.
Leaking often occurs at these intersections due to poor drainage, cracked flashing, or improperly installed shingles. The difference in roof angles can also cause water to accumulate in areas where it shouldn’t, leading to leaks inside your home.
For example, one homeowner in Dallas reported a persistent leak at the junction where their steep roof met a shallow pitch. The water seeped through because the flashing wasn’t correctly installed during the initial construction, causing damage to the attic and insulation. This situation highlights the importance of addressing these vulnerable areas before the leaks escalate.

SB Pro Roofing / sb pro roofing
Pinellas ParkPinellas CountyFlorida
6358 49th St N, Pinellas Park, FL 33781, USA
2. Preparing for the Roof Leak Repair
Before starting the repair, you’ll need to gather the necessary materials and safety equipment. Here’s what you’ll need:
- Roofing cement or sealant
- Flashing (if replacing)
- Shingles (if replacing damaged ones)
- Ladder and safety harness
- Roofing nails and a hammer
- Caulk gun
Next, inspect the roof from a safe distance using binoculars or a drone to locate the exact source of the leak. Make sure the weather conditions are suitable for roof work, preferably on a dry day, as working in wet conditions can be dangerous.
If you’re uncomfortable working at heights, it’s a good idea to contact a professional roofing service like Pro Found Roofing, who can help you perform a thorough inspection and ensure proper repairs.
Victors Home Solutions / victors roofing
2722 E Michigan Ave suite 239, Lansing, MI 48912, USA
3. Step-by-Step Process to Fix the Leak
Once you’ve prepared for the repair, follow these steps to fix the leak:
- Inspect the Flashing: Start by examining the flashing around the junction where the two roof pitches meet. Look for any visible cracks, holes, or gaps. If the flashing is damaged, it will need to be replaced.
- Remove Damaged Shingles: If shingles are damaged or missing, carefully remove them using a roofing shovel. This will expose the area where the leak is occurring.
- Apply Roofing Cement: Use a generous amount of roofing cement to seal around the flashing and any joints. Apply the cement in a smooth, even layer to prevent water from entering through the seams.
- Install New Shingles and Flashing: If necessary, install new shingles to replace those that were removed. Also, add new flashing where the two pitches meet to ensure a tight seal that directs water away from the junction.
- Inspect and Test: After completing the repairs, test the area by spraying water on the roof to check if any leaks persist. If there’s still a problem, inspect the repair for missed spots or areas that weren’t sealed properly.
It’s important to be thorough during this process. If you are unsure or uncomfortable with any step, calling a professional roofing company like Pro Found Roofing can save time and ensure the job is done correctly.
4. Tips for Preventing Future Leaks
After repairing your roof, it’s crucial to take measures to prevent future leaks. Here are some helpful tips:
- Regular Inspections: Perform regular inspections of your roof, especially after severe weather, to identify any potential issues early.
- Maintain Proper Drainage: Ensure that gutters and downspouts are clear of debris so that water can flow freely off the roof.
- Use Quality Materials: Always use high-quality roofing materials that are designed for your climate and roof type. This can prevent damage and reduce the risk of leaks over time.
- Consider Professional Maintenance: Schedule professional roofing maintenance to ensure that your roof remains in good condition, especially around junctions and vulnerable spots.
By staying proactive with these maintenance tips, you can extend the life of your roof and avoid costly repairs in the future.


 Trifecta Roofing and Restoration1.0 (2 reviews)
 Premier Group Roofing Contractors4.0 (10 reviews)
 Certified Roofing Specialists4.0 (39 reviews)
 ACC Roofing and Siding, LLC4.0 (26 reviews)
 JL Graber Builders LLC5.0 (12 reviews)
 Local Roofer LLC4.0 (5 reviews)
 Top Questions to Ask Before Hiring a Roofing Company: A Complete Guide
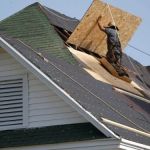 The Best Time to Schedule a Roof Replacement to Avoid Contractor Backlogs
 What to Do When Your Roof Fails a Home Inspection
 The Benefits of a White TPO Roof for Reflecting Sunlight and Saving Energy
 How to Choose a Roof Color for a House with a Lot of Windows | Expert Tips
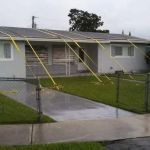 Preparing Your Roof for a Hurricane: Steps to Take Before the Storm Hits | Pro Found Roofing