
- 1. Introduction to Modified Bitumen Roofing
- 2. Materials Needed for Installing a Modified Bitumen Roof
- 3. The Installation Process: Step-by-Step
- 4. Common Challenges and How to Overcome Them
- 5. Benefits of Modified Bitumen Roofs for Low-Slope Garages
1. Introduction to Modified Bitumen Roofing
When it comes to low-slope garage roofs, modified bitumen roofing is one of the most reliable and durable options available. This roofing material offers excellent waterproofing and resilience against the elements, making it a popular choice for both residential and commercial buildings. Modified bitumen is a type of asphalt roofing that is enhanced with polymers to improve flexibility and performance.
In this article, we will guide you through the process of installing a modified bitumen roof on your low-slope garage, covering the necessary materials, step-by-step instructions, common challenges, and the benefits of this roofing solution.

Absolute Roofing / absolute roofing
TimoniumBaltimore CountyMaryland
22 W Padonia Rd # B229, Timonium, MD 21093, USA
2. Materials Needed for Installing a Modified Bitumen Roof
Before starting the installation of a modified bitumen roof, it’s essential to gather the right materials and tools. Here is a list of what you will need:
- Modified Bitumen Sheets: Choose high-quality modified bitumen sheets, which come in rolls. They are typically self-adhesive or require heat to adhere to the substrate.
- Roofing Membrane Primer: A primer is necessary for preparing the roof surface and ensuring proper adhesion of the bitumen sheets.
- Heat Torch or Adhesive: Depending on the type of bitumen sheet, you may need a heat torch to activate the adhesive or a cold adhesive for bonding the material.
- Roofing Nails and Staples: These are used to secure the edges and seams of the roofing material.
- Roofing Flashing: Flashing is needed for corners, edges, and around vents to provide additional waterproofing.
- Measuring Tape, Chalk Line, and Utility Knife: These tools are essential for accurate measurements and cutting the bitumen sheets to size.
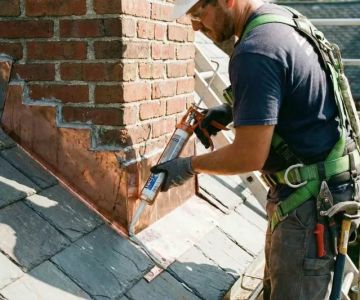
- Safety Equipment: Don’t forget to use appropriate safety gear, such as gloves, safety goggles, and a roof harness if necessary.
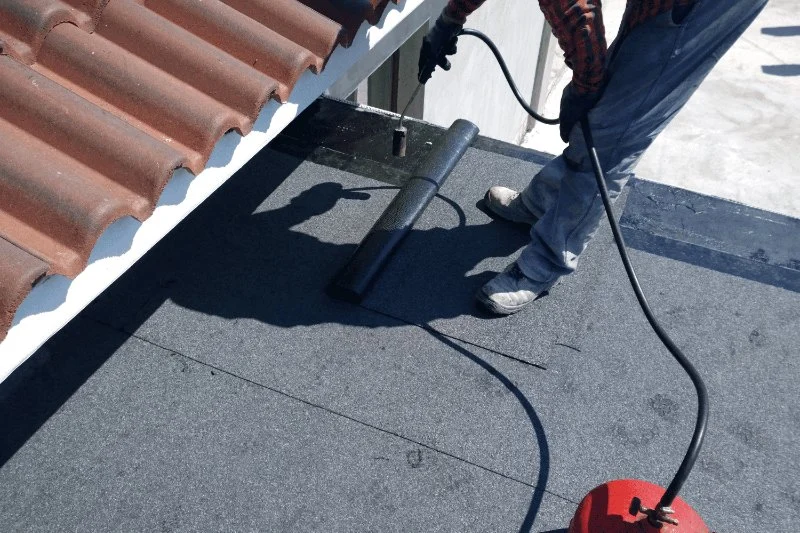
3. The Installation Process: Step-by-Step
Installing a modified bitumen roof on a low-slope garage requires careful preparation and following a systematic approach. Here is a step-by-step guide:

Gunner Roofing / gunner roofing
CromwellLower Connecticut River Valley Planning RegionConnecticut
700 Corporate Row, Cromwell, CT 06416, USA
Step 1: Prepare the Roof Surface
Start by cleaning the roof surface thoroughly. Remove any debris, dirt, or old roofing material. If necessary, use a power washer to clean the surface and allow it to dry completely. Apply a roofing membrane primer to the roof deck using a paint roller or brush. This primer will ensure proper adhesion of the modified bitumen sheets.
Step 2: Measure and Cut the Bitumen Sheets
Use a measuring tape to measure the length of the roof, ensuring that the bitumen sheets will cover the entire surface. Mark the measurements with a chalk line to ensure straight cuts. Using a utility knife, carefully cut the modified bitumen sheets to size, ensuring that each sheet fits the roof area precisely.
Step 3: Lay the First Layer of Bitumen
If you’re using a self-adhesive modified bitumen sheet, carefully peel off the backing and lay it down on the prepared roof surface. Start at one end of the roof and gradually unroll the sheet, pressing it down to ensure full adhesion. If you’re using heat-applied bitumen sheets, use a heat torch to activate the adhesive and bond the sheet to the surface. Be sure to work in small sections to avoid the material becoming too hot or too cold.
Step 4: Secure the Edges
Once the first layer is in place, secure the edges with roofing nails or staples. This will ensure that the sheet stays in position during the installation of additional layers.
Step 5: Apply Additional Layers
Repeat the process of applying the modified bitumen sheets, overlapping each sheet by several inches to ensure a strong seal. Make sure that the seams are well adhered and no gaps are left. Apply roofing flashing around vents, chimneys, and other protrusions to ensure that water cannot seep in through these areas.
Step 6: Inspect and Finish
Once all layers are applied, inspect the entire roof for any weak spots or loose seams. Repair or reapply materials as needed to ensure a solid, waterproof roof. Finally, clean the roof surface and remove any excess materials.
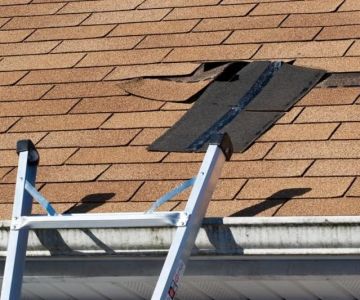
4. Common Challenges and How to Overcome Them
While installing a modified bitumen roof is relatively straightforward, there are a few challenges you may encounter:
- Uneven Roof Surface: If your roof surface isn’t level, it can be difficult to apply the bitumen sheets correctly. Use a leveling tool to ensure the surface is as flat as possible before installation.
- Proper Adhesion: If the bitumen sheets aren’t adhering properly, you may need to adjust the temperature of your heat torch or apply more adhesive. Always follow manufacturer instructions for optimal results.
- Weather Conditions: Extreme temperatures, rain, or wind can affect the installation process. It’s best to install roofing materials on dry, calm days with moderate temperatures.
5. Benefits of Modified Bitumen Roofs for Low-Slope Garages
Modified bitumen roofs are an excellent choice for low-slope garages due to several key advantages:
- Durability: Modified bitumen roofs are known for their long lifespan and ability to withstand extreme weather conditions, including rain, snow, and UV rays.
- Waterproofing: The multi-layered design of modified bitumen provides superior waterproofing, which is essential for low-slope roofs prone to water pooling.
- Easy to Maintain: These roofs are low-maintenance and easy to repair, making them a cost-effective long-term solution.
- Energy Efficiency: Modified bitumen roofs can help improve energy efficiency by reflecting heat and reducing the need for air conditioning in summer.
Installing a modified bitumen roof on your low-slope garage is a smart investment that provides durability, weather protection, and energy savings for years to come. With the right materials and proper installation techniques, you can enjoy a sturdy, reliable roof that will keep your garage safe and dry.

 Classic Remodeling4.0 (54 reviews)
 Garliss Roofing4.0 (91 reviews)
 We Do Metal Roofs - Reading, PA District Office2.0 (1 reviews)
 Haynes Construction Inc4.0 (76 reviews)
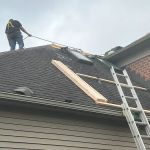 JM Gangloff Roofing4.0 (26 reviews)
 ApexGuard Roofing Solutions0.0 (0 reviews)
 How to Inspect Your Roof from the Ground: A Simple Guide for Homeowners
 How to Prepare Your Roof for Hurricane or Tornado Season
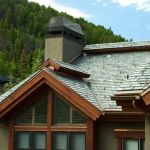 How to Choose a Roof Color for a House in a Forested Area with Lots of Trees
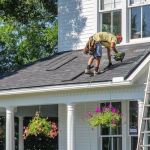 The True Cost of a Roof Replacement When You Also Need New Decking
 How to Install Step Flashing on a Roof to Wall Intersection
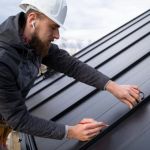 Understanding Roofing Warranties: Material vs. System Warranties Explained