
What to Expect During a Professional Roof Inspection
- 1. Why You Need a Professional Roof Inspection
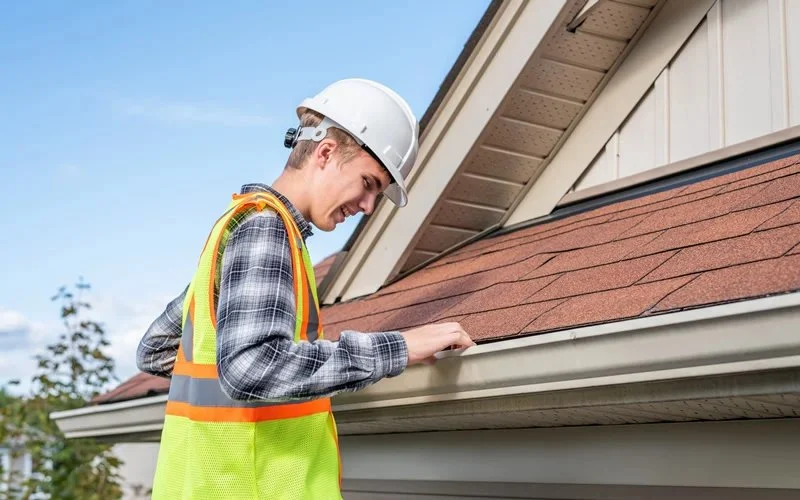
- 2. The Roof Inspection Process
- 3. What the Inspector Looks For
- 4. Common Findings and Recommended Repairs
- 5. How to Prepare for a Roof Inspection
Regular roof inspections are essential for maintaining the integrity of your home and preventing costly repairs down the line. Whether you're preparing to sell your house, after a severe storm, or simply for routine maintenance, a professional roof inspection can identify hidden issues that could affect your roof’s longevity and your home’s overall safety.
Victors Home Solutions / victors roofing
2722 E Michigan Ave suite 239, Lansing, MI 48912, USA
1. Why You Need a Professional Roof Inspection
A roof inspection is crucial for identifying any weaknesses or damage that could potentially lead to larger issues like leaks, mold, or structural damage. By catching these issues early, you can avoid costly emergency repairs and extend the lifespan of your roof. Even if you don’t notice any visible damage, it’s important to have a professional assess the condition of your roof periodically.

JK Contractors / jk roofing
West BendOzaukee CountyWisconsin
3058 County Rd Y, West Bend, WI 53095, USA
1.1 The Benefits of Regular Inspections
Regular inspections allow you to spot early signs of wear and tear, such as loose shingles, blocked gutters, or damaged flashing. This proactive approach helps prevent minor issues from becoming major repairs that could disrupt your daily life.
2. The Roof Inspection Process
The roof inspection process typically involves a thorough evaluation of the roof’s exterior, interior, and structural components. A professional roofer will look for any signs of damage, wear, or leaks, and provide a detailed report of their findings.
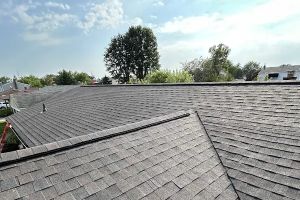
2.1 Exterior Evaluation
Inspectors will examine the roof’s surface for any visible damage, such as cracks, missing shingles, or loose materials. They will also check for proper ventilation and drainage, ensuring the roof is functioning effectively and not prone to water buildup or heat damage.
2.2 Interior Evaluation
Inside the home, the inspector will look for signs of water damage, such as stained ceilings or walls, that may indicate a leak. They will also inspect the attic for signs of poor ventilation or mold growth, both of which can indicate issues with the roof.
3. What the Inspector Looks For
Professional roof inspectors are trained to detect even the most subtle signs of damage. Here’s what they typically look for during an inspection:
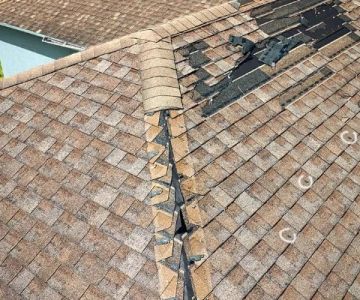
3.1 Shingle Damage
Missing, cracked, or curled shingles can be a sign of age or storm damage. Inspectors will check for signs of wear that could allow water to penetrate the roof and cause leaks.
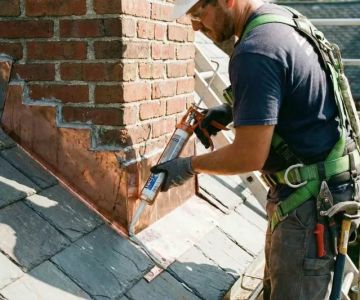
3.2 Flashing and Sealant Issues
Flashing around chimneys, vents, and skylights must be properly sealed to prevent water infiltration. If flashing is damaged or improperly sealed, it can cause significant water damage.
3.3 Gutter and Drainage Problems
Inspectors will check gutters for blockages, leaks, or signs of rust. Proper water drainage is essential to prevent water from pooling on the roof or near the foundation, which can cause damage over time.
4. Common Findings and Recommended Repairs
During the inspection, common issues that are frequently identified include:
4.1 Loose or Missing Shingles
Loose or missing shingles can lead to leaks and further roof damage. Repairing or replacing these shingles promptly can prevent water from entering the home.
4.2 Damaged Flashing
Flashing that has been damaged or degraded over time can lead to water penetration. A professional will recommend re-sealing or replacing damaged flashing to ensure the roof is watertight.
4.3 Clogged Gutters
Clogged gutters prevent proper water drainage, which can result in water backing up onto the roof. Cleaning and maintaining gutters regularly can avoid this problem and extend the life of your roof.
5. How to Prepare for a Roof Inspection
To make the inspection process easier and more efficient, here are a few steps you can take:
5.1 Clear the Area Around the Roof
Ensure that the area around your roof is clear of obstacles like tree branches or debris that might hinder the inspector’s access to the roof. If you have an attic, clear any items that might block access to the space.
5.2 Provide Access to the Attic
Make sure the inspector has easy access to your attic, as this is a critical part of the inspection. If you have a pull-down ladder or a locked access point, be sure to unlock it before the inspection.
At Pro Found Roofing, we specialize in roof inspections and maintenance. If you suspect your roof may need an inspection, don’t hesitate to reach out to us. Our expert team will provide a thorough evaluation and ensure your roof is in top condition, ready to withstand any weather.


 Precision Roofing of Georgia LLC4.0 (10 reviews)
 First Roofing5.0 (6 reviews)
 Alexis Home Improvement LLC5.0 (2 reviews)
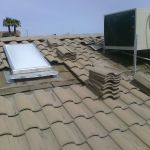 Silco Roofing5.0 (11 reviews)
 Timberland Exteriors4.0 (45 reviews)
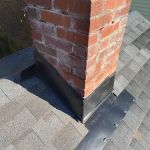 Gateway Construction Solutions LLC4.0 (44 reviews)
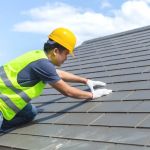 How to Find a Reliable Roofing Contractor Near You
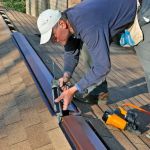 How to Install a Ridge Vent on a Roof That Previously Had Box Vents
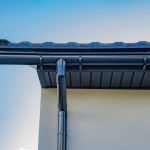 The Role of Gutters in Protecting Your Roof – Why They Matter
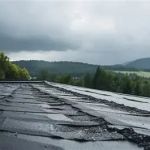 How to Handle a Roof Leak During a Storm
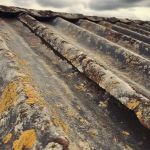 The Signs of Asbestos in an Old Roof: What to Do if You Suspect It
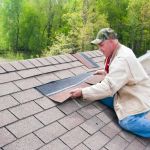 The Difference Between Roof Repair and Roof Restoration: Which Do You Need?