
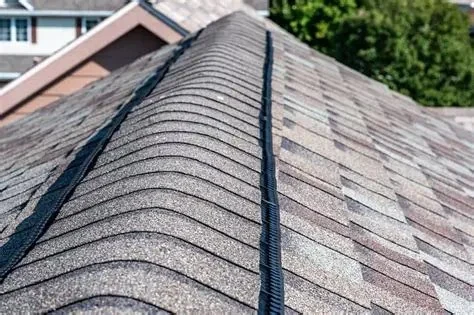
- 1. Understanding Ridge Shingles and Caps
- 2. Materials Needed for Installing Ridge Shingles
- 3. Step-by-Step Guide to Installing Ridge Shingles and Caps
- 4. Common Mistakes to Avoid During Installation
- 5. The Benefits of Proper Ridge Shingle Installation
- 6. Real-Life Example: Successful Ridge Shingle Installation


 C.B Roofing and Building5.0 (1 reviews)
 Seattle Roofing Contractors0.0 (0 reviews)
 Werner Roofing & Restoration5.0 (6 reviews)
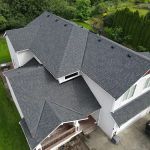 Bee Roofing and Exteriors, LLC4.0 (130 reviews)
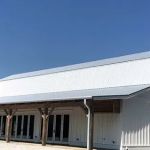 Anderson Metal Roofing & Shingles5.0 (15 reviews)
 Advantage Construction, Inc.4.0 (684 reviews)
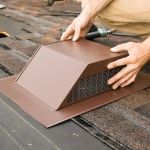 How to Install a Roof Vent for a Gas Water Heater or Furnace
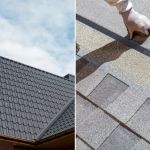 Flat Roofs vs. Sloped Roofs: How to Choose the Right One for Your Home
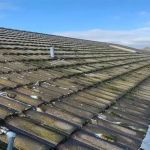 How to Safely Remove Moss and Algae from Your Roof
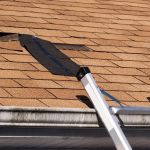 What to Do When Your Roof Fails a Home Inspection
 How Solar Panels Affect Your Roof – What You Need to Know | Pro Found Roofing
 How Attic Ventilation Impacts the Health of Your Roof