
How to Fix a Leak in a Roof Valley That Has Rusted Through on a Metal Roof
Metal roofs are a popular choice for many homeowners due to their durability and long lifespan. However, like any roofing material, they can develop problems over time. One common issue is a leak in the roof valley, especially when the metal has rusted through. This can cause significant water damage if not addressed promptly. In this guide, we’ll walk you through the process of fixing a leak in a roof valley with a rusted-through section on a metal roof. Let’s dive into the details of how to tackle this problem safely and effectively.
- 1. Identifying the Problem
- 2. Gathering the Necessary Tools and Materials
- 3. Preparing the Area for Repair
- 4. Applying the Repair
- 5. Sealing and Preventing Future Issues
1. Identifying the Problem
Before you can fix a leak in your metal roof’s valley, it’s crucial to pinpoint the exact source of the leak. Rusted-through spots are often caused by a combination of age, weather exposure, and lack of maintenance. Check the area for visible rust, holes, or corrosion where water may seep through. If you’re unsure about the location of the leak, use a garden hose to run water over the area while someone inside the house looks for signs of dripping.
Victors Home Solutions / victors roofing
2722 E Michigan Ave suite 239, Lansing, MI 48912, USA
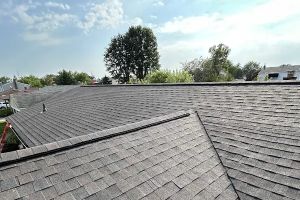
1.1 Inspecting the Roof Valley
The roof valley is a critical area where two roof slopes meet, making it especially susceptible to water damage. Examine the metal roofing in the valley for any signs of rust, holes, or deterioration. It’s also essential to check the flashing, which helps seal the valley and prevent water from seeping into the structure.
Lance Roofing & Siding Inc. / lance roofing and siding
6903 Dayton Springfield Rd, Enon, OH 45323, USA
2. Gathering the Necessary Tools and Materials
To fix the rusted area in your roof valley, you will need to gather the appropriate tools and materials. Here’s a list of what you’ll need:
2.1 Tools
- Ladder (for accessing the roof)
- Safety gloves and goggles
- Screwdriver or drill
- Wire brush
- Putty knife
- Roofing sealant
- Roofing cement
2.2 Materials
- Replacement roofing panels (if necessary)
- Metal roofing screws
- Roof flashing (if the existing flashing is damaged)
- Rust-resistant paint or primer
3. Preparing the Area for Repair
Once you have gathered your tools and materials, the next step is to prepare the area for repair. This involves cleaning and removing any debris or rust from the damaged section of the roof valley.
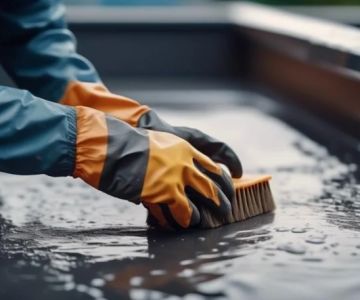
3.1 Clean the Rusted Area
Using a wire brush, scrub the rusted area thoroughly. This will help remove any loose rust and dirt. Be sure to clean the metal surface well to ensure proper adhesion of the roofing cement and sealant. If there are any large rusted sections, consider cutting them out and replacing the damaged panels.
3.2 Inspect the Flashing
While preparing the area, also check the flashing around the valley. If the flashing is damaged or corroded, it may need to be replaced. This will help prevent future leaks from occurring. Use a putty knife to remove any old flashing or debris before applying new materials.
4. Applying the Repair
Now that the area is prepped, it’s time to apply the repair materials. Here’s a step-by-step guide:
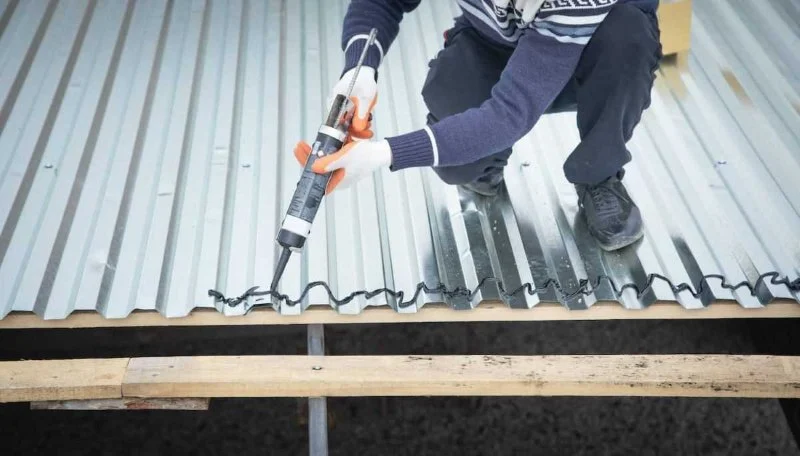
4.1 Apply Roofing Cement
Start by applying a generous amount of roofing cement to the damaged area in the roof valley. Use a putty knife to smooth out the cement, ensuring it covers the rusted section thoroughly. This will create a solid base for the repair.
4.2 Install New Flashing (If Necessary)
If you need to replace the flashing, do so before applying the roofing cement. Slide the new flashing under the existing roofing panels and secure it with roofing nails or screws. Apply a thin layer of roofing cement along the edges of the flashing to ensure a watertight seal.
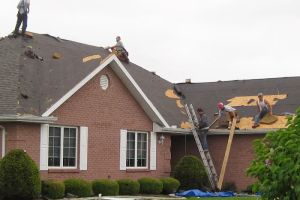
4.3 Attach New Metal Roofing Panel (If Needed)
If the rust damage is extensive, you may need to replace the affected section of the metal roof. Cut the replacement panel to size and secure it with metal roofing screws. Be sure to overlap the panel with the existing roof for a secure seal. Apply roofing cement around the edges for added protection against leaks.
5. Sealing and Preventing Future Issues
Once the repair is complete, the final step is to seal the area and take steps to prevent future leaks.
5.1 Seal the Area
After the new roofing panel is secured, apply a coat of rust-resistant primer or paint to the repaired area. This will help protect the metal from further rusting and deterioration. Use roofing sealant around the edges to ensure a watertight seal.
5.2 Regular Maintenance
To prevent future issues, regularly inspect your roof for signs of rust or damage. Clean the roof valley periodically and ensure the flashing remains intact. If you notice any new leaks or damage, address them immediately to prevent further deterioration.
If you’re unsure about performing the repair yourself or need help with the process, consider reaching out to professionals. At Pro Found Roofing, we provide expert roofing services to ensure your home remains safe and leak-free.


 Tadco Roofing3.0 (6 reviews)
 RDM Contracting5.0 (48 reviews)
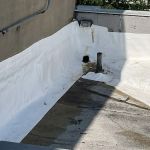 Tatum Flat Roofing0.0 (0 reviews)
 Advanced Roofing & Construction LLC4.0 (56 reviews)
 Liberty Roofworks5.0 (94 reviews)
 CNM Roofing4.0 (4 reviews)
 What to Do When Your Roof Fails a Home Inspection: Smart Next Steps
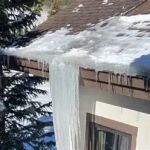 Understanding Ice Dams and How to Prevent Them on Your Roof
 Does a New Roof Increase Your Home's Resale Value? A Look at the ROI | Pro Found Roofing
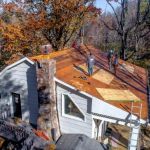 A Homeowner's Guide to Filing an Insurance Claim for Roof Damage Successfully
 How to Install Ice and Water Shield on a Roof with Many Valleys and Penetrations
 What is a Roofing Underlayment? How Self-Adhered Ice and Water Shield Works | Pro Found Roofing